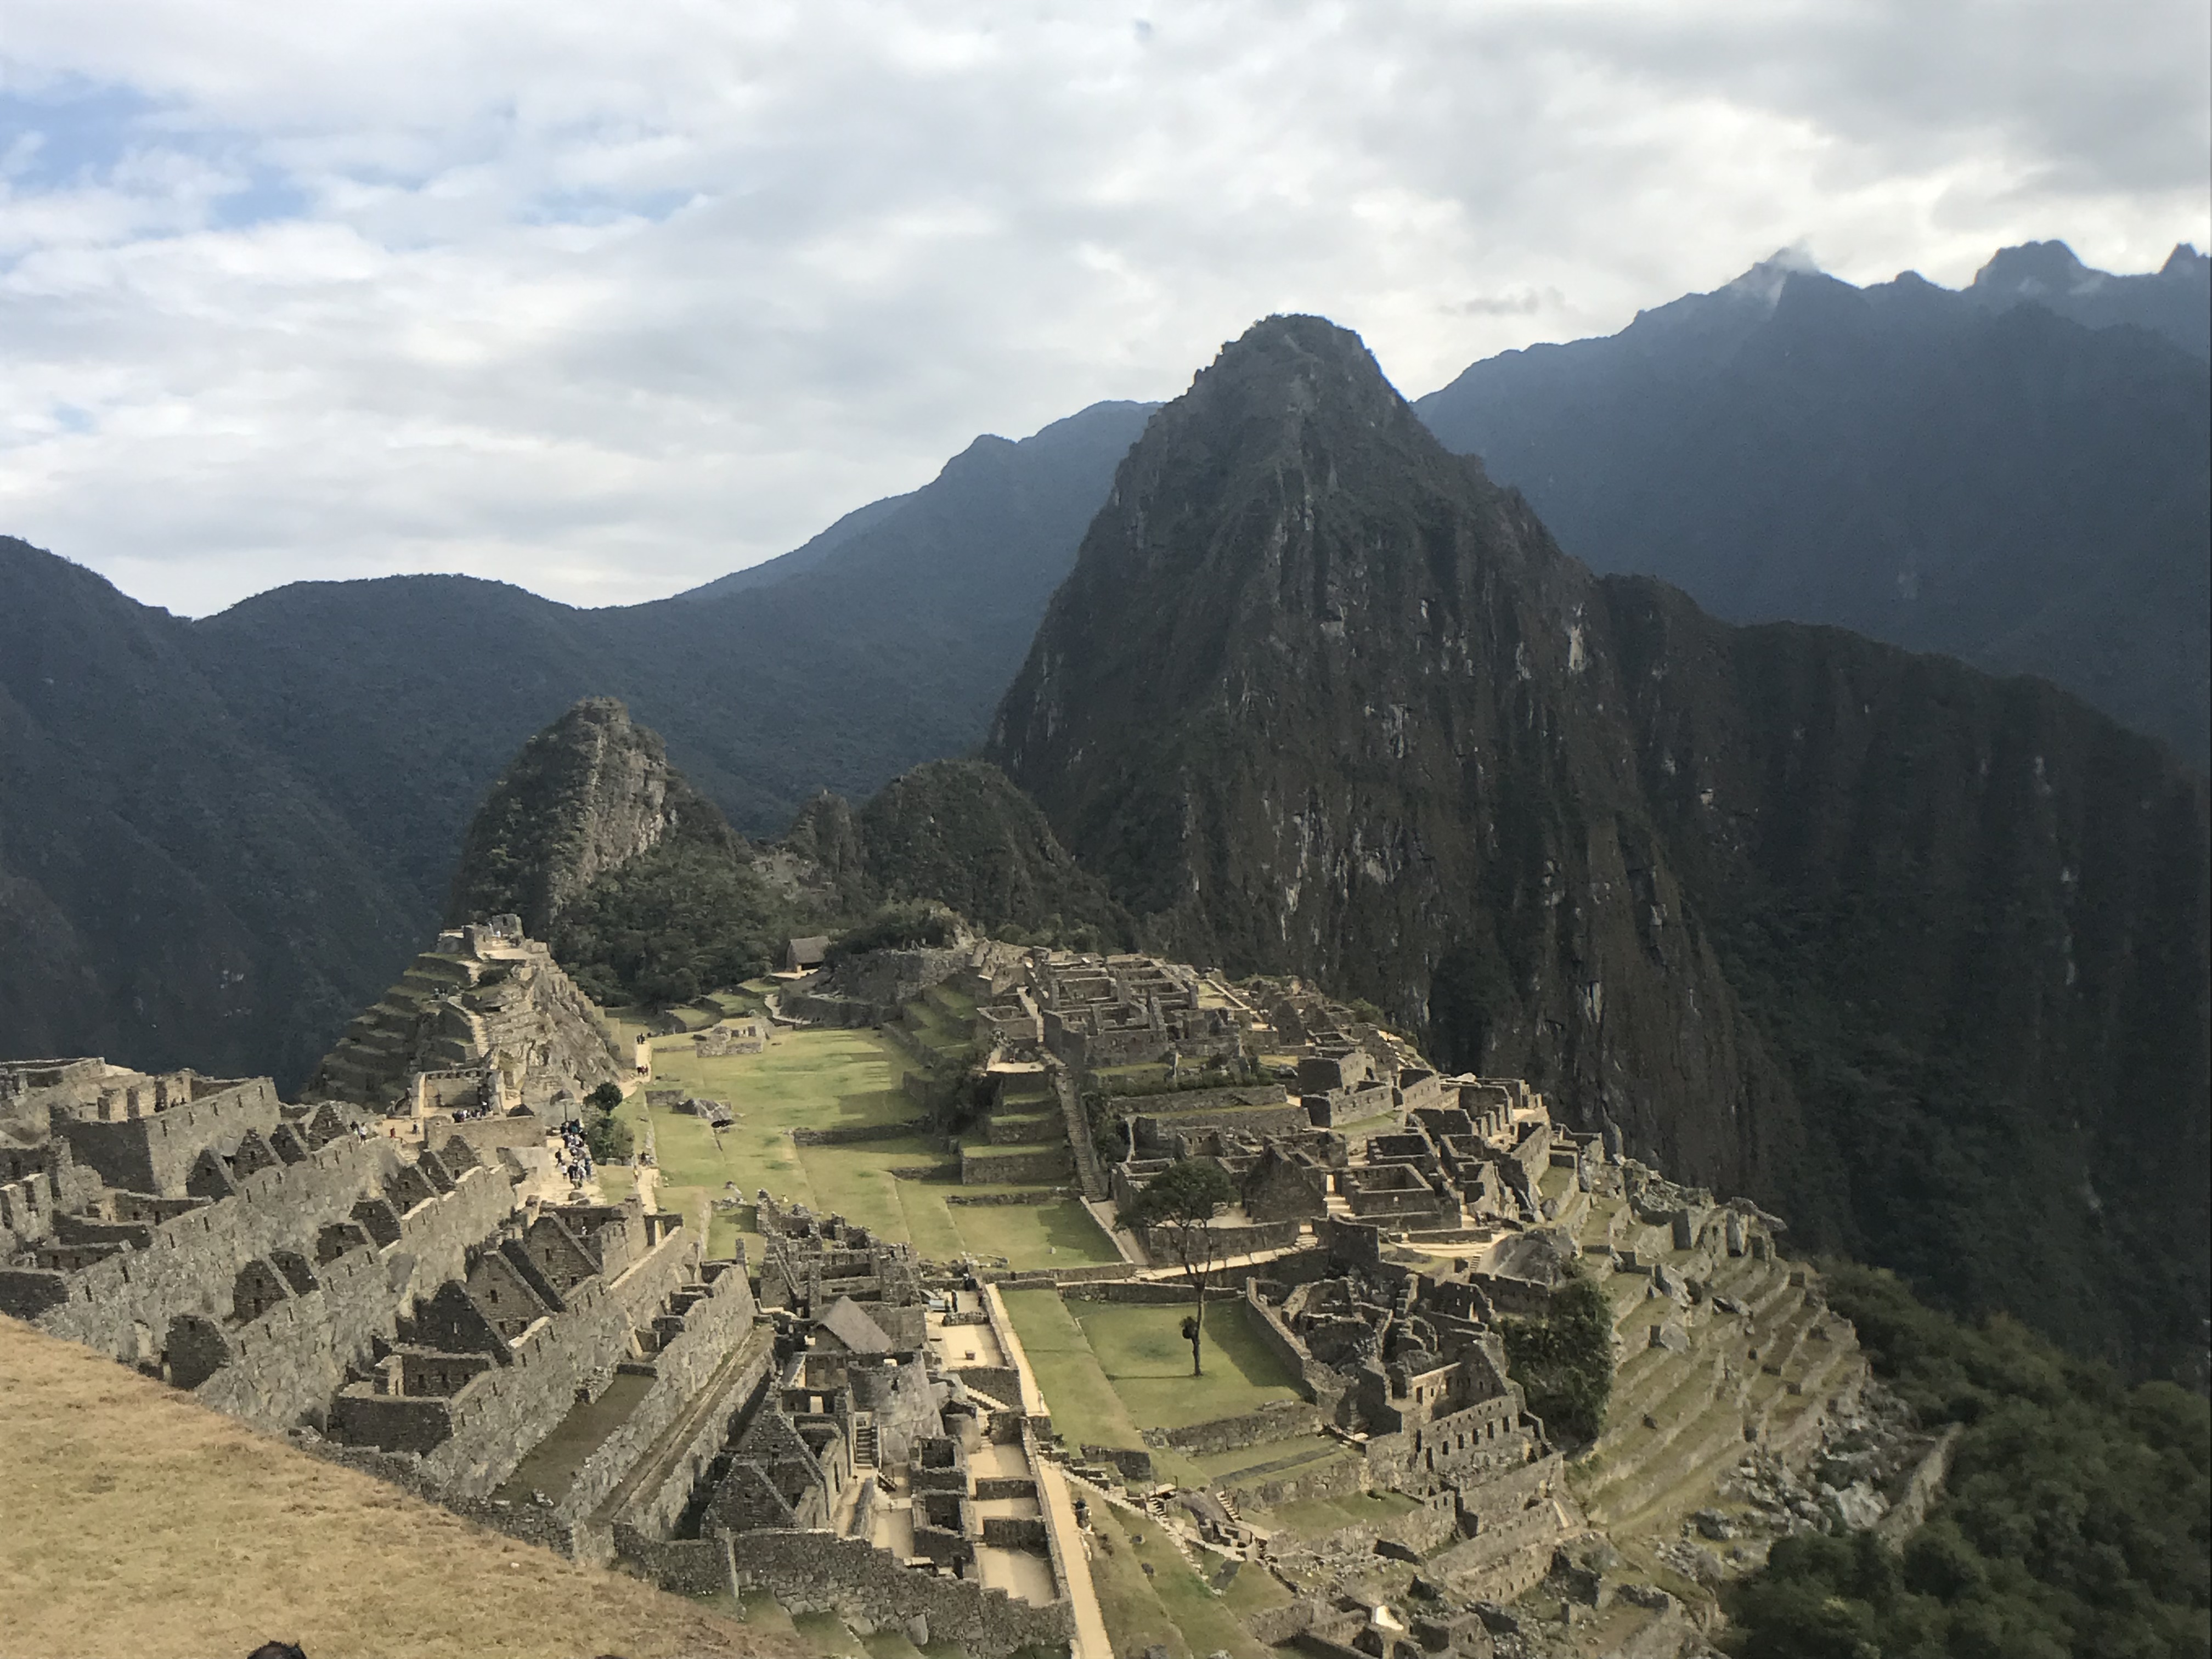
Even for a once-serious backpacker like myself, packing for Machu Picchu took a little bit more thought. There are a few unique considerations to keep in mind when headed up the Inca trail, making planning for this hike a little bit different.
First, with the new regulations governing the UNESCO World Heritage site, all visitors since 2017 must be a part of an authorized guided tour, and once at the site, they are now limiting your time and the size of the pack which can enter the ancient city. There are lockers available, and lines can be long, eating into the allotted amount of time you get to spend exploring the ruins.
Therefore, one of my goals when packing for Machu Picchu was to pack ultralight and make sure that any gear I bring along can fit in a daypack sized pack, which is the stated size limit for packs entering the city. Everything has to be small or compressed.
Most Machu Picchu guide companies provide porters who carry your tents, food, cooking utensils, and most of the other things needed at the campsite. You are really only responsible for your clothes, toiletries, and snacks. However, I chose not to use the tour company’s sleeping bags as I have no idea where they’ve been. I prefer using my own bag. Therefore, we did carry our own sleeping bags. The bag was probably the largest single thing in my pack.
BACKPACK
The pack I really wanted to use is the OSPREY Tempest Women’s Hiking Backpack, a 20L pack, which put me right at about the size limit. The next larger size up is the OSPREY Mira, 22L Women’s Hydration Hiking Backpack, which is about an inch and a half taller, and a little deeper. In the end I used the Mira, because it gave me just that much more, considering I carried my own sleeping bag.

A few other benefits for the larger pack is that it has significantly better support straps keeping the weight off your shoulders. It also comes with its own hydration bladder and rain cover, if you don’t already have those.
POWER SYSTEM
You likely already know that there are no power outlets along the Inca Trail. Shocker, I know. Wouldn’t it be a huge bummer to hike 26 miles at over 13k feet elevation over four days to one of the most iconic historical UNESCO World Heritage sites, only to have a dead camera battery when you get there??! So, how to keep your camera and phone charged for the entire four days? Especially when the most important time to have those devices charged is that very last day?
I employed a dual power methodology: backup power bank and a solar charger.
The power bank I’m using is the BRYDGE 1500 Portable Charger .

I ran tests prior to leaving for Peru, and I was able to to charge my iphone 3+ times, or my ipad once fully, or twice partially. I’m getting just a little bit less than the published amount, but still very pleased given the size and weight of the product.
The solar charger I’ve got is the Dizaul 5000 Portable Solar Power Bank. It’s only about 5×3 with a carabiner so you can attach it to your bag or belt loop. This will charge all day long, and should have enough juice at the end of the day to fully charge my iphone.

Our group did not have any success with the folding solar chargers. First, by the time the users got to the campsite to set them up, there wasn’t enough sun to charge. They take a long time to charge. The Dizaul, on the other hand, clips onto your pack and charges all day.
We also had an incident where the folding type drained a phone battery. They want to draw power from any source. There were some hikers in our group who had these and were upset to find their phone drained before getting to Machu Picchu.
Oh, and don’t forget to set your devices to airplane mode while on the trail – so that you don’t burn through your battery! Otherwise it will be searching for a non-existent WiFi the whole time.
ELECTRONICS
When packing for Machu Picchu, I guess it goes without saying that you should bring a camera. However, for the trail, I opted for just my iphone camera with attachable wide angle and telephoto lenses, thus reducing both the size and the weight of the items I’m carrying. (I took another camera for the rest of our time in Peru off the trail. )

If you havent tried out lenses for your phone, or at least not recently, you might be pleasantly surprised! Some people have complained that the clip didn’t stay in place or was easy to knock off. I did some research, specifically around the different clips, and decided on this set.
When I started using it, the clip was actually quite sturdy, as long as you set the pin correctly. The optics take a ho-hum hiking scenery photo and make it much more interesting, especially for the size and weight. This set includes telephoto, wide angle, and fisheye. And the clip mechanism stays in place much better than expected. At least for a trek like this, when I really want to get that fabulous photo, and at the same time, carrying your regular camera is too much, not to mention risky, these little guys are a smart, inexpensive alternative. And our photos were awesome!
In addition to my phone and lenses, I took my ipad, too. I am a pretty light sleeper, and reading and/or writing in the evenings helped to pass the time between dinner and bedtime. Plus, I wasn’t going to leave it with the tour company. By the way, one of the reasons I fell in love with the Osprey bag, is that it has a pocket just the right exact size for my ipad. I kept it in a dry bag in that pocket.
SLEEPING BAG
The sleeping bag I took to Peru is a Marmot down bag good to 20 degrees. I love this bag! It‘s a mummy bag and so soft and cozy. I’ve never been cold in it, even in the mountains. It packs pretty small; 10” long and 5.5 “ diameter, to be exact. I used an REI compression sack to get it down to that size. Get the small size from the link above.

CLOTHES
Here’s a short list of the clothes I packed. By the way, I used packing cubes to keep everything ultra compact. In fact, I fit ALL of the clothes on this list in ONE of these Travel Packing Cubes – Best Buy EVER! I wouldn’t be able to even start packing for Machu Picchu without this packing cube!! (I’m using the other cubes for the rest of our visit in Peru and Ecuador!)

- Hiking boots or trail shoes. I took hiking boots because I really like the extra stability afforded by the stiffer shoe, especially around the ankles. I’m glad I had them! There are some rough sections and steep steps throughout the hike.
- Hiking, wicking socks
- Athletic leggings x2 (you’ll want a clean pair at the top)
- Athletic Tank top x3 – I LOVE the Symphony Tank by Pearl Izumi
- 1 short and 1 Long sleeve wicking shirt
- Fleece or vest (pockets a plus!)
- Rain jacket – try Helly Hanson – best wet proof gear available!
- Sun hat – if you are susceptible to altitude, do not wear a baseball cap. Wear something a little looser. Try something fun
- Warmth hat – try Turtle Fur
- Gloves
- Sunglasses
- Extra shoes – packable, for the campsite. It will be cold, so I do not recommend flip flops. Try these CROC slims with a beefy sole. These went in the outside pocket of my pack.
- Arm warmers
SUNDRIES
When packing for Machu Picchu, there are some critical things to pack which don’t fall into any categories. Most of this – except the headlamp, water bladder and dry shampoo – will fit in one small stuff sack, about five inches tall.
- Passport – crucial, as they will check it at the top.
- Aspirin – for altitude sickness
- Sunscreen (ALWAYS buy reef safe sunscreen)
- Water bladder
- Headlamp
- Towel – there are actually showers at the last campsite of Waymo, but the water pressure is very poor. Most of the people in our group did not use the showers. However the porters gave us warm water every morning and evening to wash our hands and faces prior to each meal.
- Dry shampoo spray (3oz.)
- Toilet paper & tissues
- Cleansing wipes
- Antiperspirant wipes
- Toothbrush, toothpaste and floss
- Liquid soap (1oz.)


